1
Prior to creating a DSN, you must first order a MS SQL database. For instructions, please click here. Once a database is created, then proceed to Step 2.
2
Log in to ControlPanel and click Website.
3
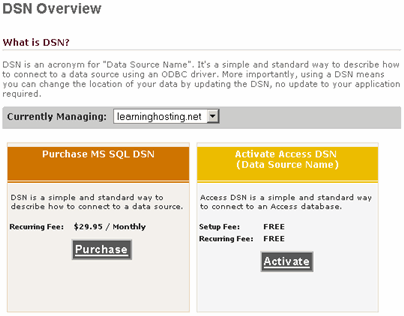
Under the Currently Managing drop-down list, make sure the proper Windows hosting domain is selected.
Scroll down to the Added Functionality section and click DSN (Data Source Name).
4
Click the Purchase button in the MS SQL DSN box.

5
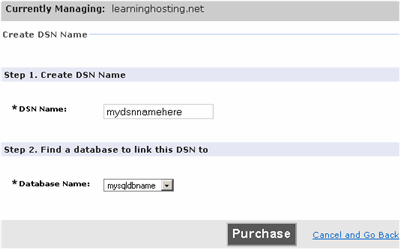
Now enter the name you wish to use for the DSN and select its corresponding MS SQL database.

Depending on your hosting plan, there may or may not be a charge for MS SQL DSN. Please refer to your plan details for further information. If there is a charge, you will be asked to confirm the charge after clicking on the Purchase button above.
6
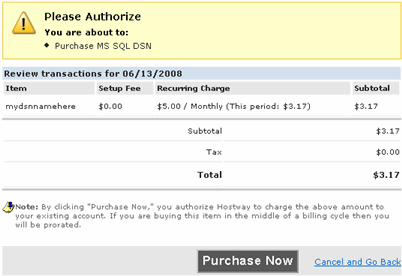
You now see the charge authorization page. Please note that there may or may not be a monthly charge depending on your Windows hosting plan. In this example, there is a charge for $3.17. Why $3.17 instead of the quoted rate of $5.00/month? This DSN was ordered on the 13th of the month and thus automatically received a pro-rated charge.

Click Purchase Now.
7
You should now see the confirmation page.